There is something truly special about the bond between a child and their favorite plush friend. Whether it is a well loved teddy bear or a soft bunny that goes everywhere, these toys are more than just fabric and stuffing; they are companions.
However, because they are so well loved, they often become a magnet for dust, spills, and the occasional germ.
Learning how to wash stuffed animals in easy ways is not just about keeping things looking nice; it is about ensuring your little ones stay healthy while they play.
Most parents worry that a trip through the laundry might result in a lumpy mess or a lost eye. The good news is that with a bit of care and the right techniques, you can restore your child’s plushies to their former glory.
This guide will walk you through the safest, most effective methods to handle everything from delicate vintage bears to modern, battery operated toys.
Essential Safety Checks Before You Start
Before you dive into the cleaning process, it is important to pause and assess the situation.
Not every toy is built the same, and what works for a sturdy polyester bear might destroy a delicate heirloom. Understanding how to wash stuffed animals in easy ways begins with these three critical “Points to Ponder.”
1. Read the Care Tag Carefully
Just like your favorite sweater, most stuffed toys come with a care label. This tag is your best friend. It will tell you if the toy is “surface wash only” or if it can handle a full soak.
If the tag is missing or faded, err on the side of caution and opt for hand washing. Looking at the materials is also a great way to keep things simple and avoid unnecessary risks.
2. Perform a Colorfastness Test
Some plush toys use dyes that can bleed when they get wet. To prevent a colorful disaster, take a damp white cloth and a tiny drop of detergent.
Rub it on an inconspicuous area of the toy, like the bottom of a foot. If the color transfers to the cloth, you should avoid submerging the toy and stick to light spot cleaning instead.
3. Identify Sensitive Materials
Check for “extras.” Does the toy have glued on sequins? Is it stuffed with delicate foam beads or old fashioned wood wool? Toys that are very old or those containing delicate internal components require a much gentler touch.
If you are also curious about maintaining other household items, you might find our guide on how to wash a weighted blanket quite helpful as well.
—
Method 1: How to Wash Stuffed Animals by Hand
Hand washing is arguably the safest way to clean a plush friend. It gives you total control over the pressure and temperature, ensuring that the fur remains soft and the shape stays intact.
If you are wondering how to wash stuffed animals in easy ways without a machine, this is the gold standard.
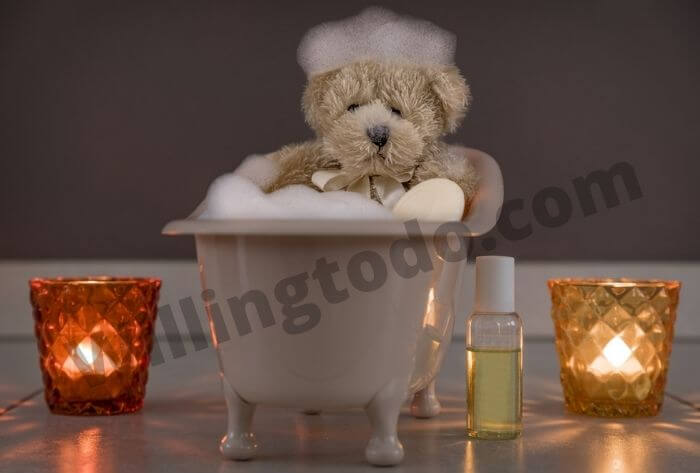
The “Sink Bath” Technique
Think of this as a spa day for the toy. It is perfect for toys that are moderately dirty but still relatively sturdy.
- Remove Surface Dust: Use a soft brush or a wide tooth comb to gently remove any loose dirt or hair before the toy gets wet.
- Prepare the Water: Fill a clean sink or basin with lukewarm water. Avoid hot water as it can melt certain synthetic fibers.
- Add Detergent: Mix in a small amount of mild laundry detergent. You only need enough to create a few bubbles.
- The Soak and Squeeze: Submerge the toy and gently squeeze the soapy water through the fur. Avoid aggressive scrubbing, which can cause pilling.
- Rinse Thoroughly: Drain the sink and refill it with clean, cool water. Continue rinsing and squeezing until all the soap is gone. This is a vital step because leftover soap can actually attract more dirt later on.
- Dry with Care: Wrap the toy in a clean towel and press down to absorb excess moisture. Never wring or twist the toy.
The “Tub Scrub” for Larger Toys
For bigger animals like giant teddy bears or long snakes, a plastic tub provides more room to work. This method is excellent when you need to tackle deeper stains that have settled into the stuffing over time.
- Fill a tub with enough water to let the toy float.
- Apply a small amount of detergent directly to any heavy stains and use a soft toothbrush to work the soap in.
- Agitate the water with your hands to mimic the movement of a washing machine without the harshness.
- Rinse in a secondary tub of clean water to ensure all surfactants are removed.
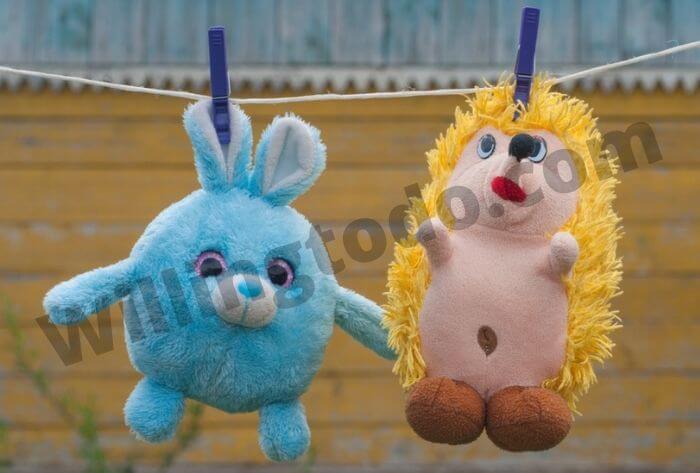
- Drying Tip: Place the toy on a flat surface in a well ventilated area. Using a clean white towel as a base can help pull moisture from the bottom of the toy as it air dries.
—
Method 2: Using the Washing Machine Safely
Many modern plushies are designed to survive the washing machine. If the tag says “Machine Washable,” you can save a lot of time.
However, there are still specific steps you should take to ensure the toy doesn’t come out looking like it went through a battle. When considering how to wash stuffed animals in easy ways using technology, the “Protective Layer” approach is best.
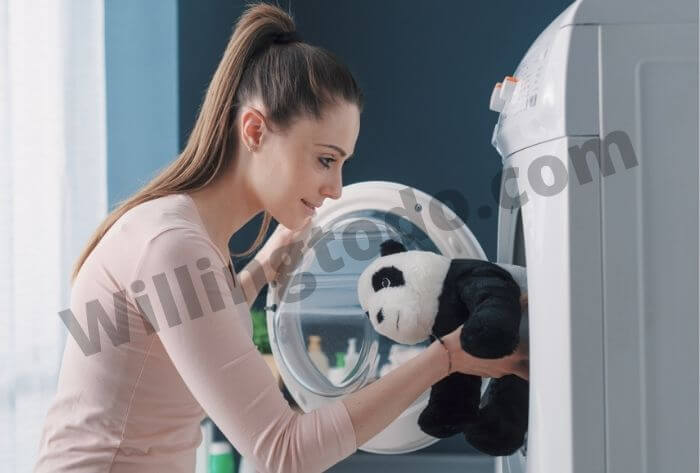
Step by Step Machine Washing
- The Pillowcase Trick: Place the stuffed animal inside a mesh laundry bag or a clean white pillowcase. This prevents the eyes, nose, or any delicate stitching from snagging on the drum or the agitator.
- Select the Right Cycle: Always use the “Delicate” or “Hand Wash” cycle. This uses the slowest agitation and spin speeds.
- Temperature Control: Use cold water only. Heat is the enemy of synthetic plush fur; it can cause the fibers to shrivel or “frizz.”
- Detergent Choice: Use a tiny amount of gentle, fragrance free detergent. Too much soap is very hard to rinse out of internal stuffing.
- Air Dry is Best: While some people use a dryer on a “no heat” setting, air drying is the safest path. You can use a hair dryer on the “cool” setting at the very end to fluff up the fur and make it look new again.
If you’re busy managing your home and looking for more efficiency, learning how to be organized in your daily tasks can make these cleaning routines feel like second nature rather than a chore.
—
Method 3: Spot Treating Electronic and Musical Toys
Some toys come with “brains”—battery packs, music boxes, or internal wiring. These toys should never be submerged in water.
Moisture can corrode the electronics, making the toy silent or even dangerous. Here is how to wash stuffed animals in easy ways when they have built in tech.
The Foam Cleaning Method
Instead of soaking the toy, you want to use the “dry” foam from your detergent. Mix a bit of soap and water in a bowl and whisk it until it creates thick suds.
Dip a clean cloth into the foam only, then gently wipe the surface of the toy. This cleans the fur without saturating the stuffing where the electronics live.
For sticky spots or small food spills, baby wipes are an excellent tool. They are designed to be gentle and usually contain very little moisture, making them perfect for quick cleanups.
If you are interested in other ways to keep your environment fresh, you might want to learn how to get rid of odors in your home effectively.
—
When is it Time for a Wash?
Knowing when to wash is just as important as knowing how. You don’t want to over wash them, as this can wear down the fabric. Consider a cleaning session in the following scenarios:
- After Illness: If your child has been sick, their favorite toy likely carries germs. A thorough wash is essential for health.
- Visible Grime: If the fur looks gray or feels sticky, it is time.
- Allergy Season: Stuffed animals are notorious for trapping dust mites. Frequent light cleaning can help kids with respiratory sensitivities.
- Second Hand Finds: If you buy a toy from a thrift store, always give it a deep clean before handing it to your child.
Just as you might take a moment to learn how often to take a pet to the vet, keeping a regular schedule for toy maintenance keeps the whole family happier.
—
Frequently Asked Questions (FAQ)
Can I put stuffed animals in the dryer?
It is generally not recommended. High heat can melt synthetic fibers (like polyester fur) and damage plastic eyes.
If you must use a dryer, use the “Air Fluff” or “No Heat” setting and keep the toy in a pillowcase. Air drying in a well ventilated area is always the safest option.
How do I fix “clumpy” stuffing after washing?
Once the toy is completely dry, you can gently massage the stuffing from the outside to break up any clumps. For toys with longer fur, use a clean pet slicker brush or a wide tooth comb to restore the fluffiness of the “coat.”
What if the toy is too old and fragile to wash?
For very old or “antique” toys, try the baking soda method. Place the toy in a bag with half a cup of baking soda and shake gently. Let it sit for 20 minutes, then use a vacuum hose attachment to gently suck away the powder and the trapped dust.
Is it okay to use bleach on white stuffed animals?
No, avoid bleach. It is too harsh for the delicate fibers and can damage the internal stuffing. If you need to whiten a toy, use a mixture of water and a small amount of oxygen based whitener or lemon juice and sunlight.
Can I wash stuffed animals with “beans” inside?
If the toy contains plastic pellets (like Beanie Babies), it is usually safe for a gentle hand wash. However, if the toy contains natural beans or rice, do not get it wet, as these will absorb moisture and rot or grow mold.
—
Conclusion: Keeping Memories Clean and Safe
Mastering how to wash stuffed animals in easy ways is a small but vital skill for any caregiver. By taking the time to check the tags, choosing the right method, and drying the toys properly, you ensure that these precious companions stay around for years to come.
A clean toy is a safe toy, and there is no better feeling for a child than hugging a plush friend that smells fresh and feels as soft as the day they first met.
Remember, the goal is not just a clean appearance, but a healthy environment for play. Whether you choose the gentle sink bath or the convenience of a washing machine, your effort will keep the magic of childhood alive and hygienic.
For more helpful tips on maintaining a happy home and lifestyle, feel free to explore our guide on how to improve your daily routine and overall well being.