White Converse Chuck Taylors are more than just sneakers; they are a fashion staple that has spanned generations. Whether you are a student, a creative professional, or someone who just loves a classic look, these shoes offer a versatile and comfortable way to complete any outfit.
However, there is a common struggle every owner faces: keeping that crisp, bright white finish from turning into a dull, muddy yellow.
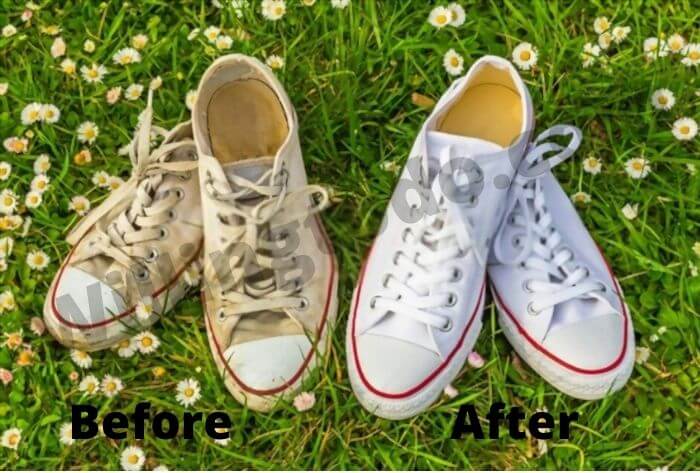
If your favorite pair is currently looking a bit worse for wear, do not worry. You do not need to replace them just yet.
In this comprehensive guide, we will walk you through exactly how to clean white converse using simple household items you likely already have in your pantry.
From the classic baking soda scrub to professional hacks like WD-40, we have covered every method to help you restore your shoes to their former glory.
Managing your footwear is just like managing any other part of your life or career. If you want to be the best employee or present your best self, showing up with clean, well maintained gear makes a massive difference in how others perceive your professionalism and attention to detail.
Why We Need to Wash White Converse Regularly
Imagine you are heading to a party or a casual work meeting. Your outfit is perfect, but when you look down, your shoes are covered in scuffs and grass stains. It can be a real confidence killer.
While the “distressed” look is sometimes trendy, there is a big difference between a well worn shoe and one that is simply neglected.
Keeping your Converse clean is not just about vanity; it is about making your investments last longer and ensuring you always look polished.
Regular maintenance also prevents stains from setting in permanently. Dirt and moisture can break down the canvas fibers over time, leading to tears or permanent yellowing that even the best cleaning hacks cannot fix.
By learning how to clean white converse effectively, you are protecting your footwear and ensuring they remain a reliable part of your wardrobe for years to come.

How to Clean White Converse: The Ultimate Method Guide
There is no single “right” way to clean these shoes because different types of dirt require different approaches. Below, we explore the most effective hacks, starting with the easiest and moving toward specialized deep cleaning techniques.
1. How to Clean White Converse in the Washing Machine
The washing machine is the go to for many because it is hands off and efficient. However, you cannot just toss them in with your jeans and hope for the best. You need a bit of strategy to protect both the shoes and your machine.
- Remove the Laces: Always take the laces out first. This allows the soapy water to reach the tongue and the eyelets where dirt loves to hide. You can wash the laces in a small mesh bag or replace them entirely for a fresh look.
- Pre Treat Stains: If you have grass or grease stains, apply a small amount of liquid detergent or a specialized stain remover to the area. Let it sit for about ten minutes.
- The Buffer Method: To prevent the shoes from banging against the drum, put them inside a mesh laundry bag or an old pillowcase. Adding a few white towels to the load acts as a buffer and helps scrub the shoes during the cycle.
- Settings: Use a gentle cycle with cold or lukewarm water. High heat is the enemy of Converse as it can cause the rubber soles to separate from the canvas.
2. The Baking Soda and Vinegar Miracle Paste
When people ask how to clean white converse without harsh chemicals, this is the gold standard. This duo creates a chemical reaction that fizzes away deep seated grime.
Step 1: The Preparation
First, use a dry soft bristled brush (an old toothbrush works perfectly) to flick away loose dirt or dried mud. This ensures you are not just rubbing mud deeper into the fabric when you start wetting it.
Step 2: Create the Paste
In a small glass or plastic bowl, mix two parts baking soda with three parts white vinegar. Avoid using metal bowls or spoons because the metal can react with the acidity of the vinegar. The mixture will foam up, which is exactly what you want.
Step 3: Scrubbing
Dip your brush into the paste and work it into the canvas in circular motions. Focus heavily on the rubber toe cap and the sides of the soles.
For the canvas parts, be firm but gentle to avoid fraying the fabric. Once covered, let the paste dry on the shoes for at least 30 minutes. Once dry, shake off the residue and rinse with cool water.
3. Using WD-40 for Tough Scuffs
This might sound surprising, but WD-40 is a secret weapon for the rubber parts of your Converse. It is particularly effective at removing asphalt marks, grease, or sticky residue from the soles.
Many people use this hack when they need to get rid of paint smell or tough chemical stains on various surfaces, and shoes are no exception.
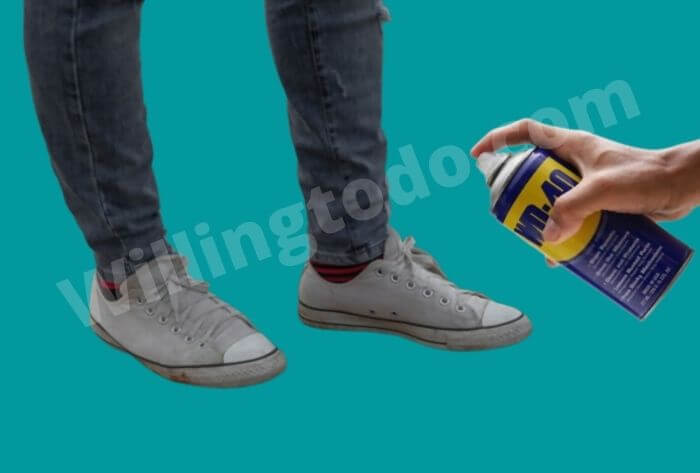
Important Caution: Only use WD-40 on the rubber soles and toe caps. Do not let it touch the canvas fabric, as it is an oil based product and could leave a permanent stain on the white cloth.
Spray a small amount onto a cloth and rub it onto the scuff mark. It should lift away almost instantly. Follow up by wiping the rubber with a damp, soapy cloth to remove any oily residue.
4. The Bleach Method for Stubborn Yellowing
Bleach is powerful, but it must be used with extreme care. If used incorrectly, it can actually cause white shoes to turn a strange shade of yellow.
However, if your shoes have become gray and dull, a diluted bleach solution can bring back that “out of the box” brightness.
Mix one part bleach with five parts water. Use a toothbrush to apply the solution to the shoes, scrubbing in small circles. If you want to boost the power, you can mix a tiny bit of toothpaste and baking soda into the mix to create a whitening powerhouse.
Rinse the shoes thoroughly under cool water immediately after scrubbing to ensure no bleach remains in the fibers, as it can weaken the material if left too long.
5. Acetone and Nail Polish Remover Hacks
If you have scuffs on the rubber that just won’t budge with soap and water, reach for your nail polish remover. Acetone is a strong solvent that “melts” away the top layer of grime on rubber surfaces.
It is much like the precision needed when you get nail glue off your skin; you want to target the spot without damaging the surrounding area.
Soak a cotton ball in acetone and firmly rub it against the rubber sole and the toe box. You will see the black scuffs transfer onto the cotton ball.
It is a quick and satisfying way to make the most visible parts of the shoe look brand new. This is one of the best hacks for a quick touch up before heading out the door.
6. The Toothpaste Trick
If you are in a hurry and don’t have baking soda, white non gel toothpaste is an excellent substitute. Toothpaste contains mild abrasives designed to remove stains from teeth, and it works similarly on canvas.
Squeeze some onto a brush, add a drop of water, and scrub. It is particularly effective for small, localized stains on the canvas tongue or the sides.
How to Dry Your Converse Without Ruining the Shape
The drying process is just as important as the cleaning process. If you do it wrong, you might end up with shoes that are clean but don’t fit anymore.
Much like learning how to measure the inseam correctly for clothing, getting the dimensions and shape right for shoes is vital for comfort.
- Avoid the Dryer: Never put your Converse in a tumble dryer. The heat can warp the rubber soles and cause the glue to melt, leading to the sole peeling away from the fabric.
- Air Dry in the Shade: While the sun has natural bleaching properties, direct, intense sunlight for several hours can sometimes make white canvas turn yellow. The best place is a well ventilated, warm area out of direct midday sun.
- Stuff with Paper: To help the shoes keep their shape and to speed up the drying process, stuff the inside with white paper towels or plain packing paper. Avoid using newspaper, as the ink can bleed onto your freshly cleaned white shoes.
Bonus Tips for Long Term Care
Once you have mastered how to clean white converse, you will want to keep them that way for as long as possible. Here are a few pro tips:
- Use a Protector Spray: After your shoes are clean and dry, spray them with a fabric protector. This creates an invisible barrier that repels water and prevents dirt from soaking into the fibers.
- Spot Clean Daily: If you notice a small scuff, wipe it off immediately with a damp cloth or a magic eraser sponge. Small efforts daily prevent the need for deep cleaning later.
- Proper Storage: Don’t leave your shoes outside or in damp areas. Store them in a cool, dry closet to prevent mold and moisture damage.
If you enjoy maintaining your lifestyle through careful attention to detail, you might also be interested in our guides on how to soften leather or even how to make lip gloss at home for a complete DIY fashion routine.
Frequently Asked Questions (FAQ)
Can I use a hair dryer to dry my Converse faster?
It is not recommended. The concentrated heat from a hair dryer can cause the rubber to become brittle and may weaken the adhesive that holds the shoe together. Natural air drying is the safest method for preserving the shoe’s integrity.
Why did my white Converse turn yellow after washing?
Yellowing usually happens for two reasons: either the detergent wasn’t rinsed out completely and reacted with the air, or the shoes were dried in direct, harsh sunlight for too long. Always rinse thoroughly with cool water to remove all soap residue.
Is it safe to use a Magic Eraser on the canvas?
Magic Erasers are great for the rubber soles and toe caps, but they are too abrasive for the canvas. Stick to soft brushes and mild soaps for the fabric parts to avoid thinning the material or causing premature wear.
How often should I clean my shoes?
For white shoes, a quick spot clean once a week is ideal. A deep clean using the methods above should be done every month or whenever they start to look noticeably dull and gray.
Can I wash the laces with bleach?
Yes, white laces can be soaked in a bowl of water and bleach to get them perfectly white again. Just make sure to rinse them well before re threading them into your shoes to avoid getting bleach on your skin.
Conclusion
Learning how to clean white converse is a skill that saves you money and keeps your style game strong. Whether you choose the fizzy power of baking soda and vinegar, the convenience of the washing machine, or the quick fix of nail polish remover, you now have all the tools to keep your sneakers looking fresh.
Remember to be patient during the drying process and avoid high heat at all costs. With a little bit of care and these simple household hacks, your white Converse will continue to be your favorite go to shoes for a long time.